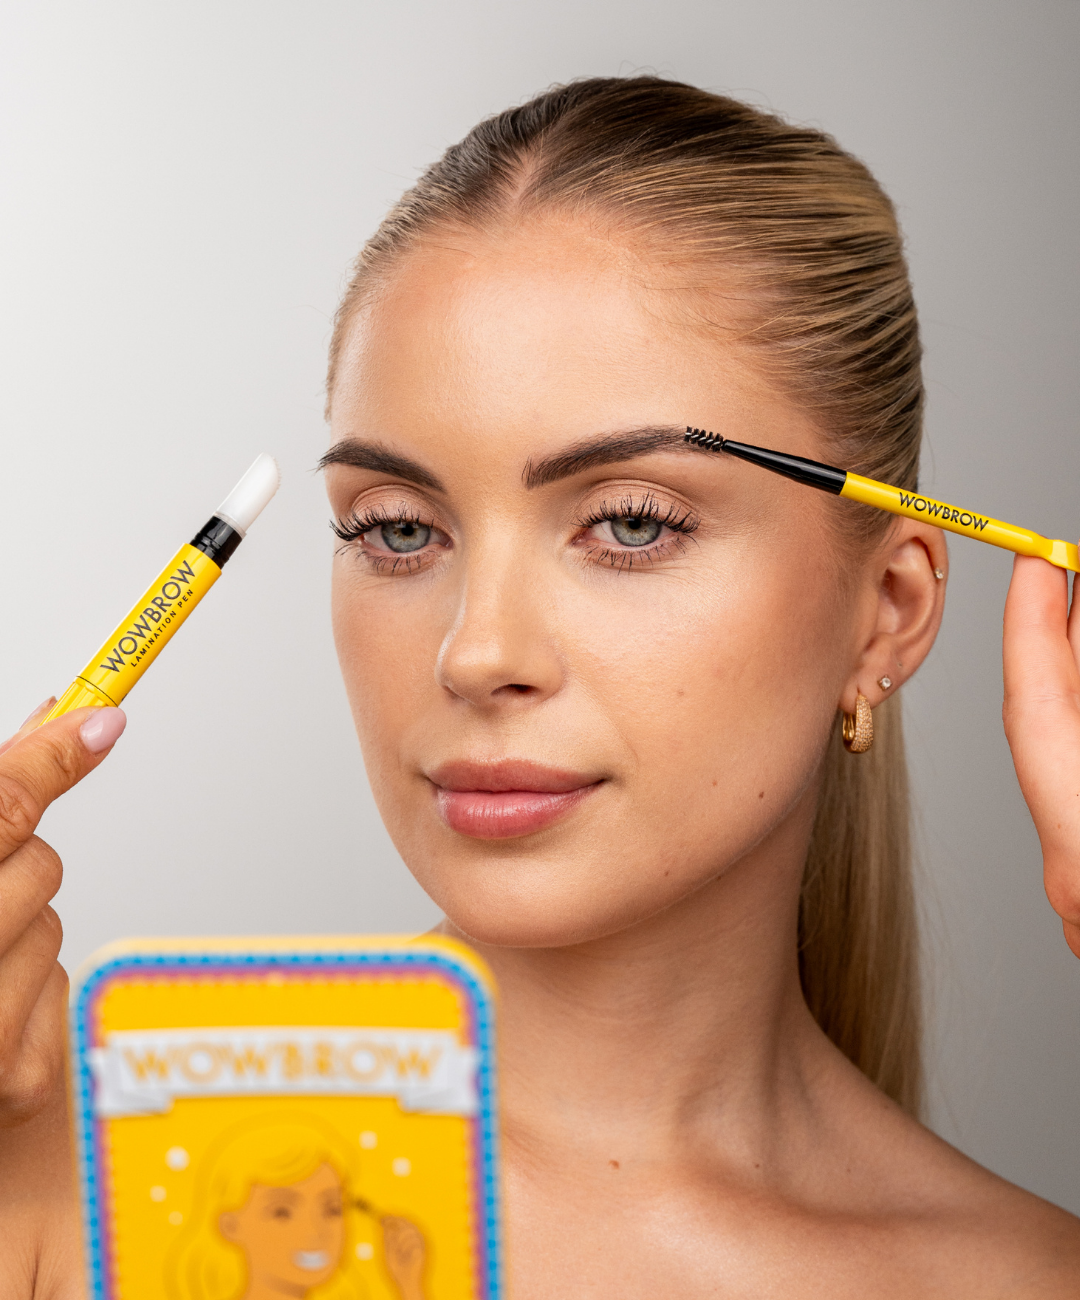
Brow lamination is the most popular brow treatment in the Nordics right now. The treatment lifts, shapes and sets the brow hairs in the desired direction, giving you fuller, more defined brows – without permanent makeup or microblading.
The best part? You don't need a salon. With the right kit and technique, you can do brow lamination at home in under 10 minutes, with results that look like you just came from the stylist.
This guide is written by the WOWBROW team, who run five professional brow and lash salons in Scandinavia. We've done thousands of brow laminations on clients, and now we're sharing exactly how you achieve the same at home.

In this guide
What is brow lamination?
Brow lamination is a treatment that gives the brows a lifted, brushed-up look. Think of it as a "perm" for the brows: the hairs are shaped in the desired direction and held in place.
In the salon, chemical solutions are used to break down and restructure the hair fibres. The result lasts 4–6 weeks, but requires an hour with a stylist at 600–1,200 kr per treatment.
With brow lamination at home, you use shaping products that give the same visual result – without chemicals and without the salon price. You can do it daily, and it only takes a couple of minutes.
Why do brow lamination at home?
Save 600–1,200 kr each time
A brow lamination kit costs a fraction of one salon treatment and lasts for months.
10 minutes vs. 60 minutes
At-home treatment is much faster than sitting in a salon.
No chemicals
WOWBROW's Instant Lamination uses shaping wax and gel instead of perming solutions.
Daily variation
Choose a different style from day to day – brushed up, to the side, or natural.
No waiting
Do it whenever it suits you.
What you need for brow lamination at home
To get a professional result at home, you need the right tools. Here's what we recommend from the WOWBROW range:
1. WOWBROW Instant Lamination Kit
The Instant Lamination Kit is the very heart of your at-home brow lamination. The kit contains everything you need to shape and set the brows into a perfect, laminated look. Voted Innovation of the Year 2026.

2. WOWBROW Brow & Lash Serum
For fuller brows over time, use Brow & Lash Serum daily. Stronger, denser brow hairs make for a much better brow lamination because there's more hair to work with. Visible results after 4–6 weeks.
3. Brow brush
A good brow brush is indispensable for distributing product evenly and shaping the brows precisely during lamination.
Step by step: brow lamination at home
Clean the brows
Start with clean, dry brows. Remove all makeup, oil and cream from the brow area. The products adhere much better to clean hair.
Brush the brows upward
Use the brow brush to brush all the brow hairs upward. This is the classic laminated look – brushed, lifted brows that give an open, youthful expression.
Apply Instant Lamination
Open the Instant Lamination Kit and apply the product in the direction of brow hair growth (upward and slightly to the side). Work in small strokes for even distribution.
Shape and adjust
While the product is still pliable, use the brush to fine-tune the shape. You can choose: straight up (maximum lift effect, trendy and dramatic), diagonal (natural, polished look) or follow the arch (classic and elegant).
Let it set
Let the product dry for 1–2 minutes. Once it has set, the brows stay perfectly in place all day.

Brow lamination at home vs. salon
| At home (Instant Lamination Kit) | Salon (chemical lamination) | |
|---|---|---|
| Time | 5–10 minutes | 45–60 minutes |
| Price | One-time purchase, lasts for months | 600–1,200 kr per treatment |
| Durability | All day | 4–6 weeks |
| Chemicals | None | Perming solution |
| Risk | None | Irritation, dry brows |
| Flexibility | New style every day | Fixed shape for weeks |
Common mistakes with at-home brow lamination (and how to avoid them)
1. Too much product
Use less than you think you need. A thin layer gives the best durability and the most natural result. Too much makes the brows stiff and clumpy.
2. Brushing the wrong direction
Always brush FROM the root and upward. Many make the mistake of brushing downward and then up – that gives a messy result.
3. Not using serum
Brow lamination looks best when you have full, healthy brow growth. Use Brow & Lash Serum daily to build up the brows over time.
4. Skipping the brush
Fingers never give as precise a result as a proper brow brush. Invest in a good brush – it makes an enormous difference.
Tips from the WOWBROW salons
Our stylists do hundreds of brow laminations every month. Here are their best tips for getting it perfect at home:
Tip 1: Do it after showering. Heat and moisture make the brow hairs more pliable. Apply Instant Lamination right after the shower for easier shaping.
Tip 2: Add colour before you laminate. Use Color Boosting Brow Mascara AFTER lamination for extra colour and fullness. The fibres in the mascara attach to the hairs and give a denser look.
Tip 3: Repair overnight. Apply Brow & Lash Serum every evening. The serum strengthens the brow hairs while you sleep, so they tolerate daily styling better.

Brow lamination for different brow types
Thin brows
Do you have thin or sparse brows? Brow lamination at home is perfect for you. By brushing the hairs upward, you visually fill in the gaps between the hairs. Combine with Brow & Lash Serum for denser growth over time.
Thick brows
Thick brows going in all directions? Then brow lamination is your new best friend. Instant Lamination tames the hairs and gives them a uniform, polished direction.
Uneven brows
Many people have brows that aren't quite symmetrical. With brow lamination at home, you can shape each brow individually to create better symmetry.
Frequently asked questions about brow lamination at home
Is brow lamination at home safe?
Yes, especially with products like WOWBROW's Instant Lamination Kit that contain no chemical perming solutions. It's simply a shaping wax/gel that holds the brows in place.
How long does at-home brow lamination last?
With the Instant Lamination Kit, the result lasts all day. For semi-permanent lamination that lasts 4–6 weeks, you need a salon treatment with a chemical solution.
Can brow lamination damage the brows?
No, not with WOWBROW's products. Our formulas are nourishing and strengthening. Chemical salon lamination, on the other hand, can dry out the brow hairs with too frequent use.
What does brow lamination cost at home vs. salon?
An Instant Lamination Kit from WOWBROW costs a fraction of one salon treatment and lasts for months with daily use. At the salon you pay 600–1,200 kr each time, and have to return every 4–6 weeks.
Can I do brow lamination myself the first time?
Absolutely. WOWBROW's kit is designed especially for home use. If you follow the steps in this guide, you'll get a great result the very first time.
Complete brow routine: morning and evening
Morning routine (5 min)
1. Clean the brows. 2. Apply Instant Lamination and shape the brows. 3. Add Color Boosting Brow Mascara for extra colour and fullness.
Evening routine (1 min)
1. Remove makeup. 2. Apply Brow & Lash Serum for strength and growth overnight.
Ready for perfectly laminated brows?
Thousands of women in the Nordics have already swapped expensive salon visits for brow lamination at home. With the WOWBROW Instant Lamination Kit, you get salon results in minutes – every single day.
Buy the Instant Lamination Kit here